Honeycomb infill


#1

Hi. I know about Formware’s lattice infill but its not really what I’m after. I would like a honeycomb infill function that can do this:

This is done on a solid model. There are options for shell thickness, density and width of the infill. What’s great also is the option to have an open bottom as shown in this example. It eliminates the need to add drain holes and the models are much easier to wash after.


#2

Hi,

It looks to me like this is only some kind of base plate right? It seems to stop after a fixed height?

Or is it actually an entire infill?

elco


#3

Hi Elco,

No it’s ther entire infill, from the shell down to the bottom.


#4

Hi,

So just to be clear;
it generates:

  1. the wall from the model down to the platform
  2. the honeycomb infill (which is only a couple of mm heigh and then stops)
    Don’t you get an unsupported inside then?

Are you able to email me a sample .stl of what is generated? info@… is fine.

I can have a look if we can implement it.

Elco


#5

Hi Elco,

No the infill is not just a few mm high, it occupies the entire space inside of the shell. I think the difference is that, unlike the lattice infill function, which ads material (the lattices) inside an already hollow model, this function starts with a solid model and substracts material in hexagonal shapes. I’m unable to send you an stl file because this function is done in the same step as slicing. If it’s still unclear, I can upload more screenshots of the print preview with the layer slider at layer 1, halfway up and 3/4 of the way up the model. Thank you.


#6

Yes please send some more screenshot then. I can’t exactly tell.

below:

  • red is a vertical extrusion from the contour of the entire mesh, or at least the edge. I assume this is from 3d scane data; extruded vertical downward.
    This is then offset with a width inside.

  • green: thickness of the honeycomb

  • blue: height of the honeycomb. This stops right? You can see the inside of the mesh further up


#7

Hi,

Yes, in this example, the mesh outline was indeed extruded downward to the base. But that is not part of the infill function. It is a separate function of the slicing software that was used (FlashDental) which enables to create a basic solid dental model from a 3D scan.

Yes, the thickness of the honeycomb (in green) is set by the user in the infill function.

Ok, now I understand why you think that the honeycomb stops short. It is because that is the shape of the model. This is an upper jaw so where the honeycomb stops is actually the concavity of the palate (the roof of the mouth), which happens to be quite close to the base. Maybe these screenshots can help (notice position of the layer slider on the left).


#8

What you want isn’t an ‘infill’ but an ‘Create honeycomb base’


#9

Yes it’s probably better called a ‘base’.

However it’s clear to me what the use case is.

@crapshoot do you have an example 3d scan file that you import in flashforge dental? It looks like they import a point cloud or an open mesh surface for the top?
I could have a look if I can create the same workflow.

As a matter of fact; one of our spanisch OEm partners already asked for a vertical extrusion some time ago. So it was already on my todo-list to add this. Might as well take the honeycomb along.

Elco


#10

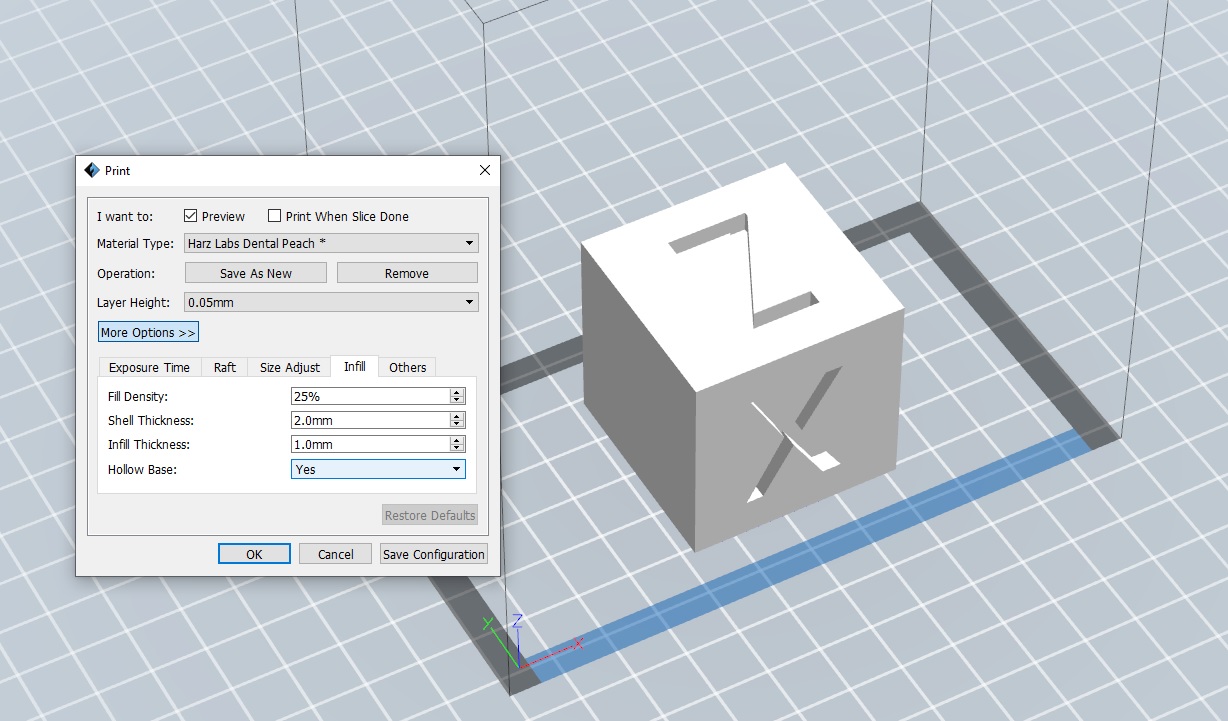
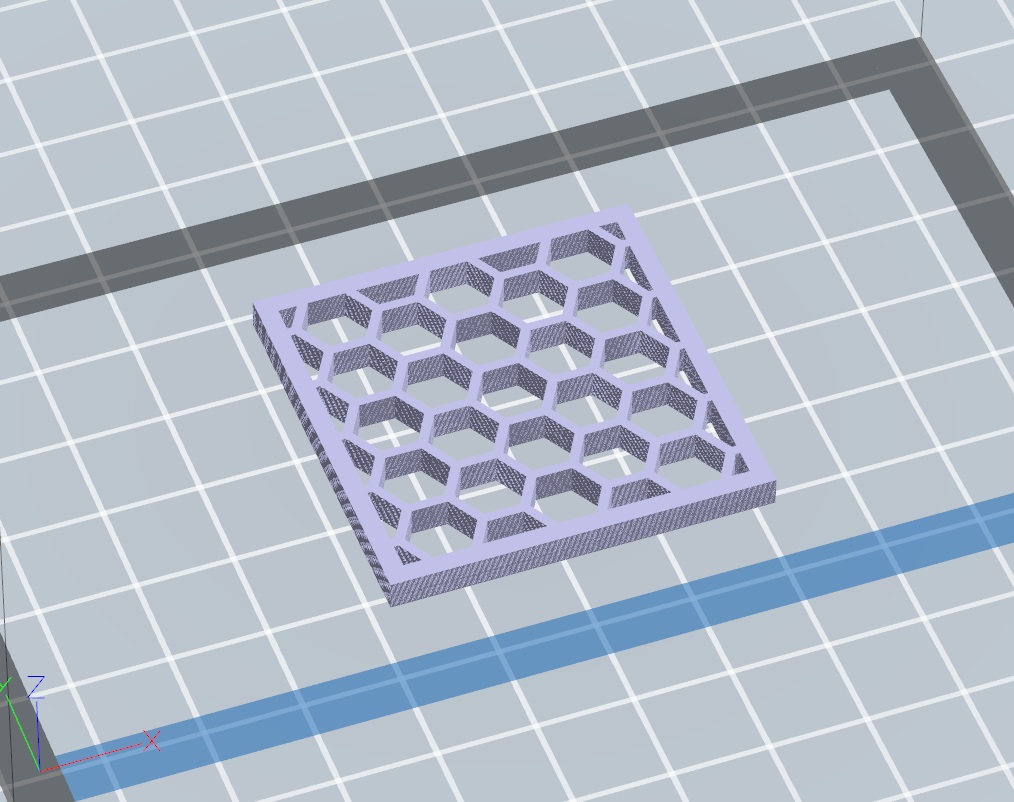
The function to create a base from an open mesh is a separate function from the infill function entirely. Here is another example of using the infill function but on a calibration cube stl. When you set the density below 100% you automatically get the honeycomb infill. The % you set determines the density of the cells. If you set it to 0% you get a hollowed out model. When you set Hollow Base to Yes, you get an open bottom. If you set it to No, the bottom of the model remains intact.

The base generation is a separate function of the software.

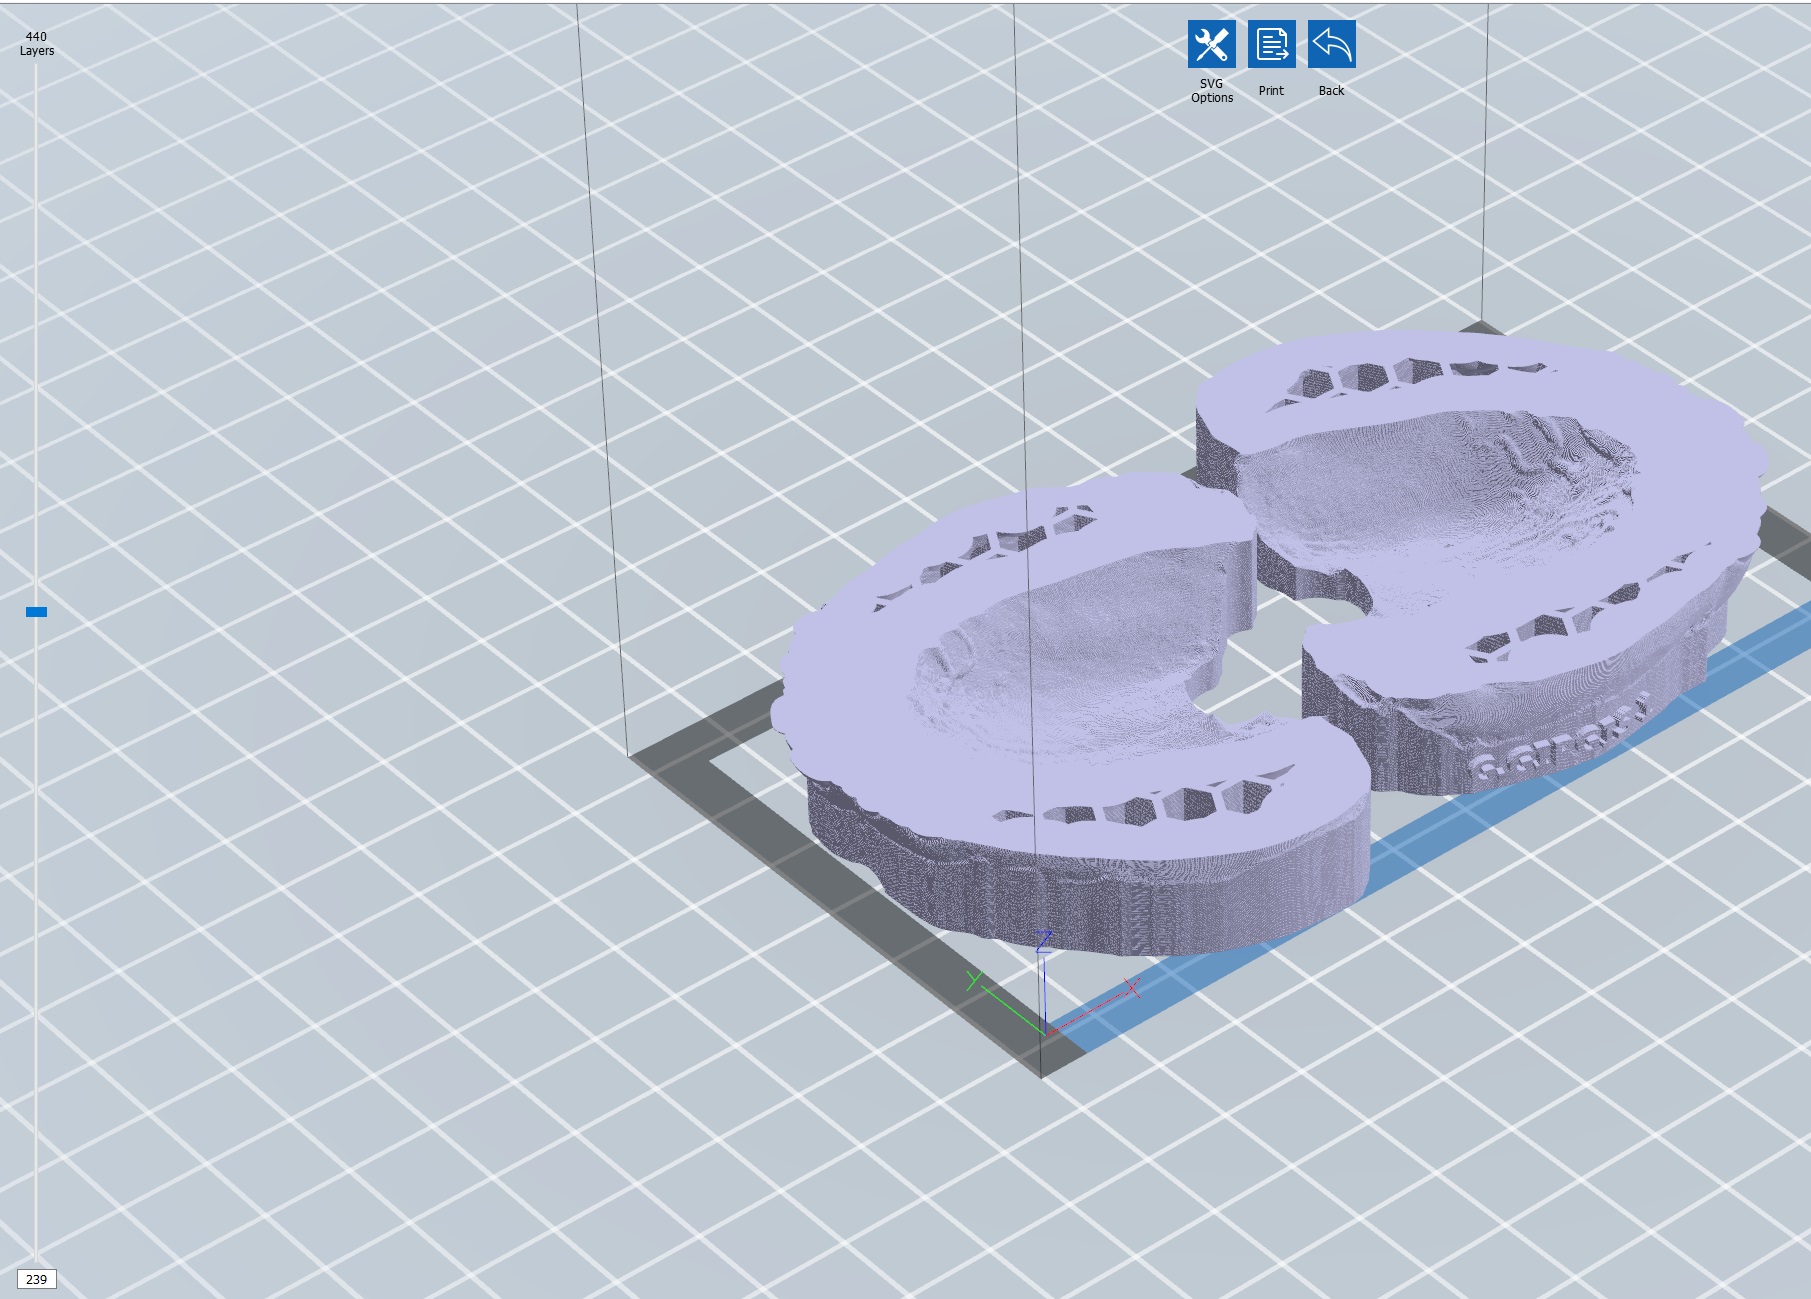
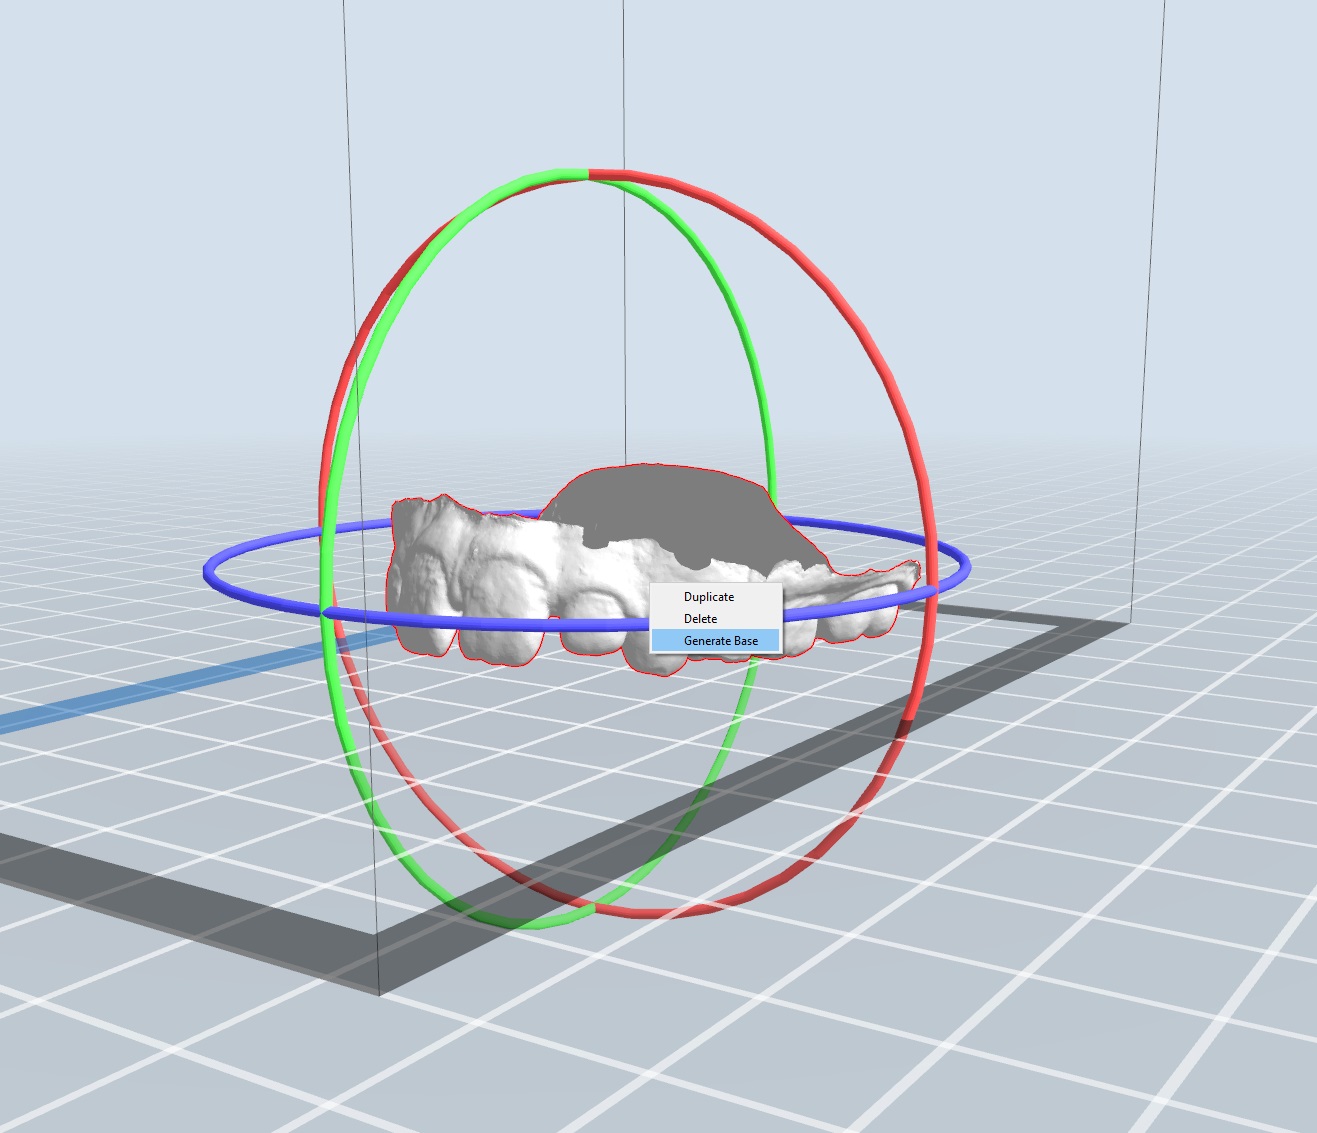
You import an open mesh:

Select Generate Base:

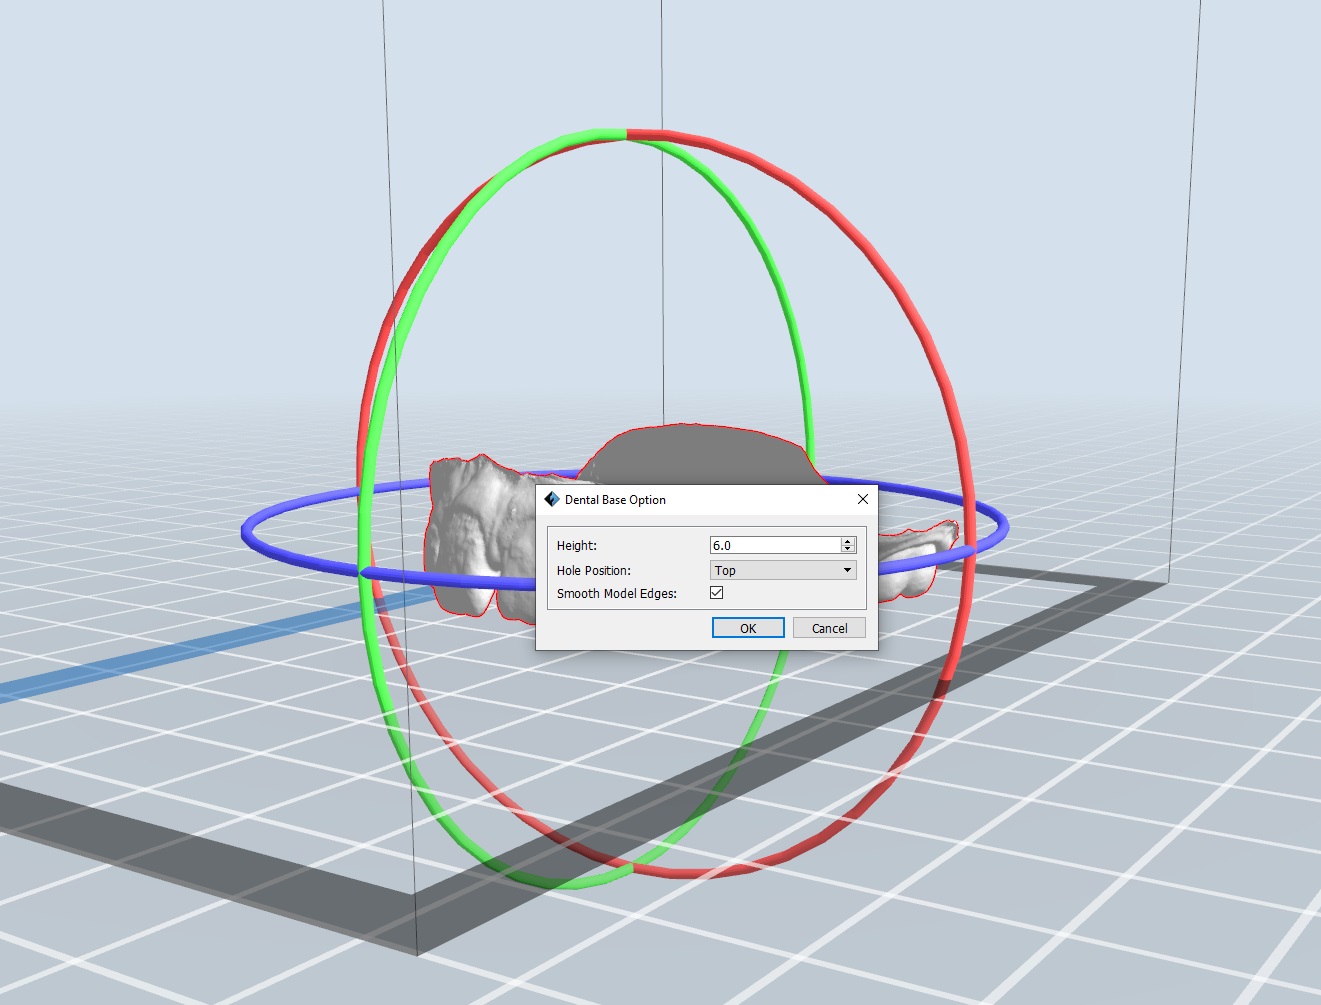
Set the height of the base, set if it is an upper or a lower jaw and set if you want the walls of the base to be smooth or not:

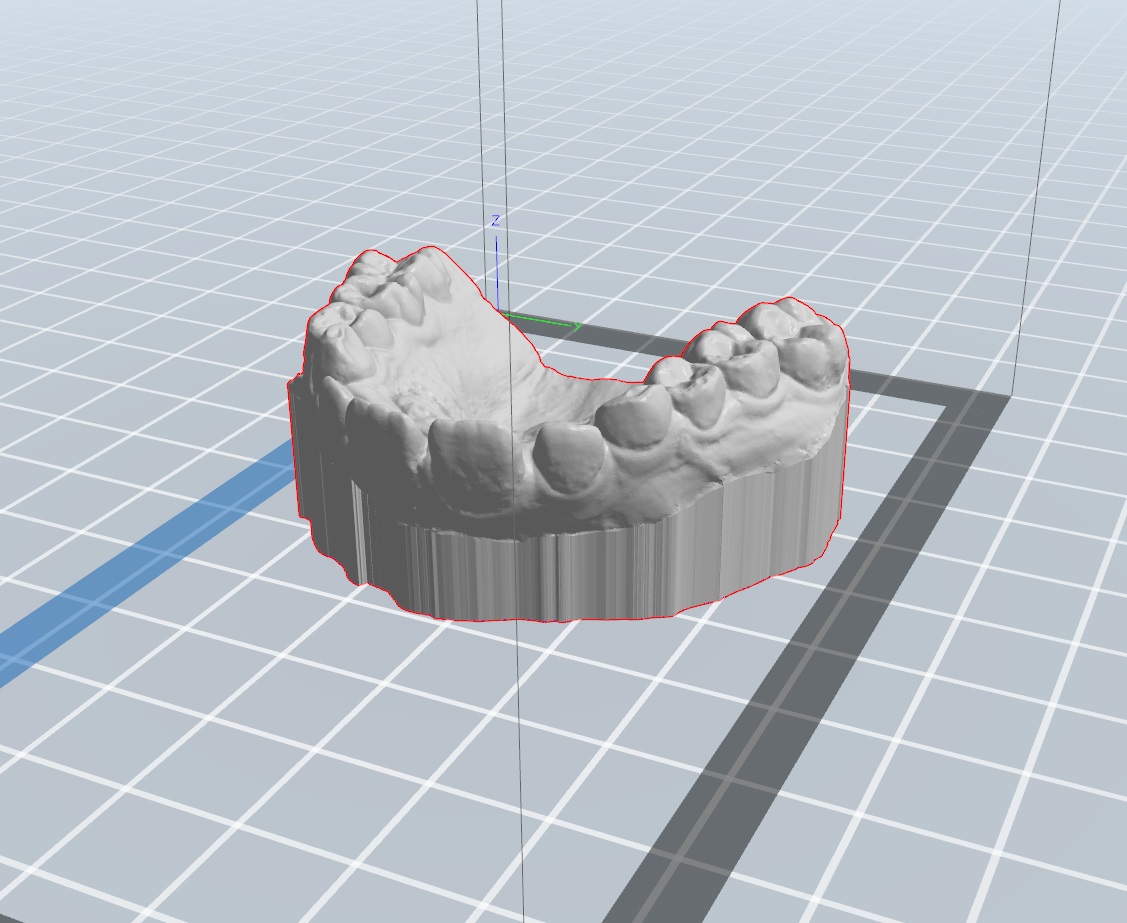
…and you get a closed model:

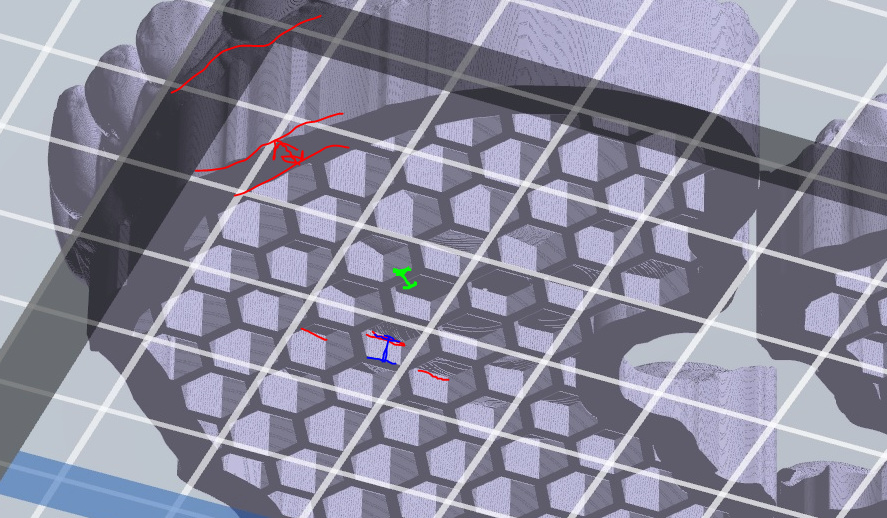
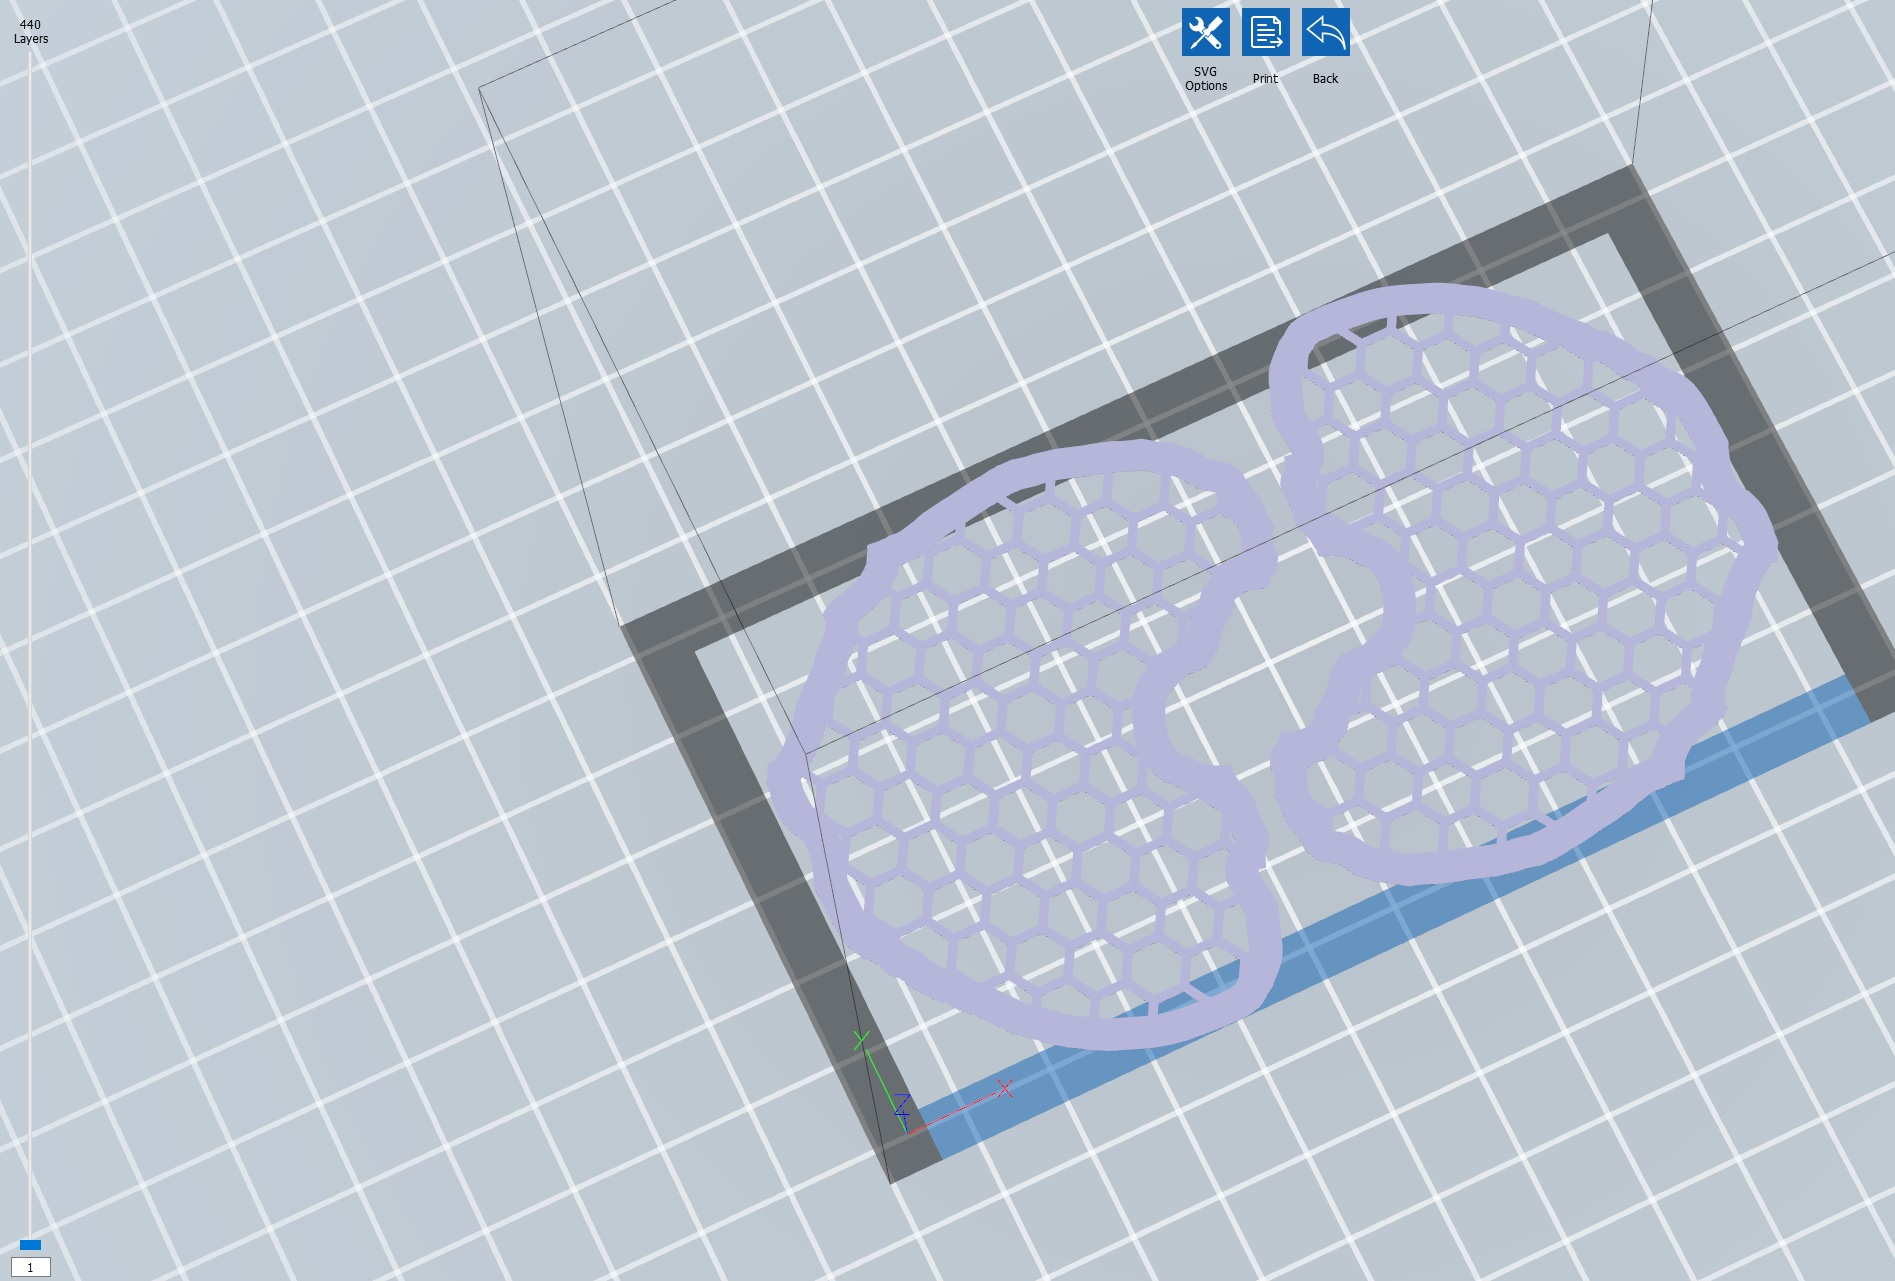
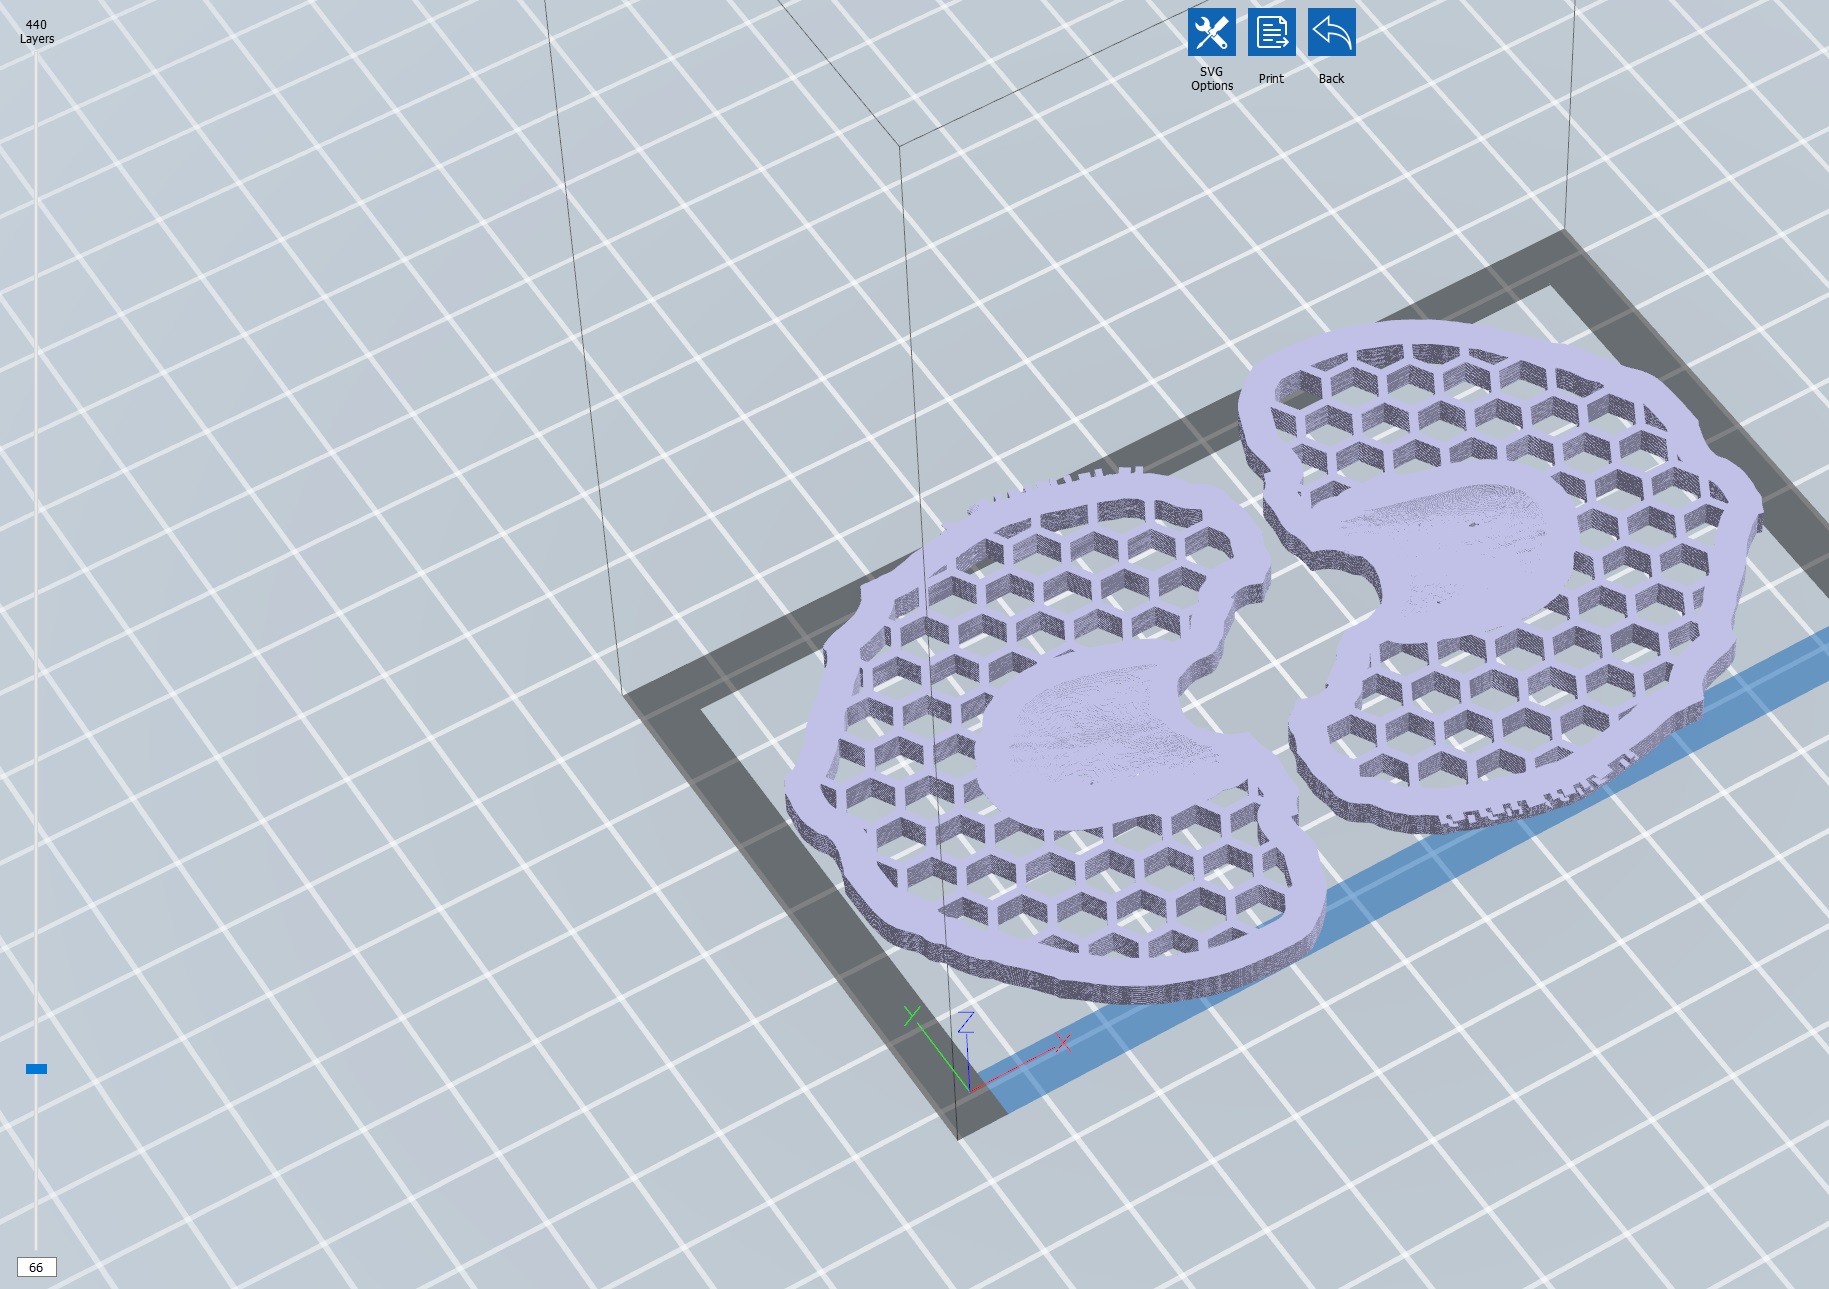
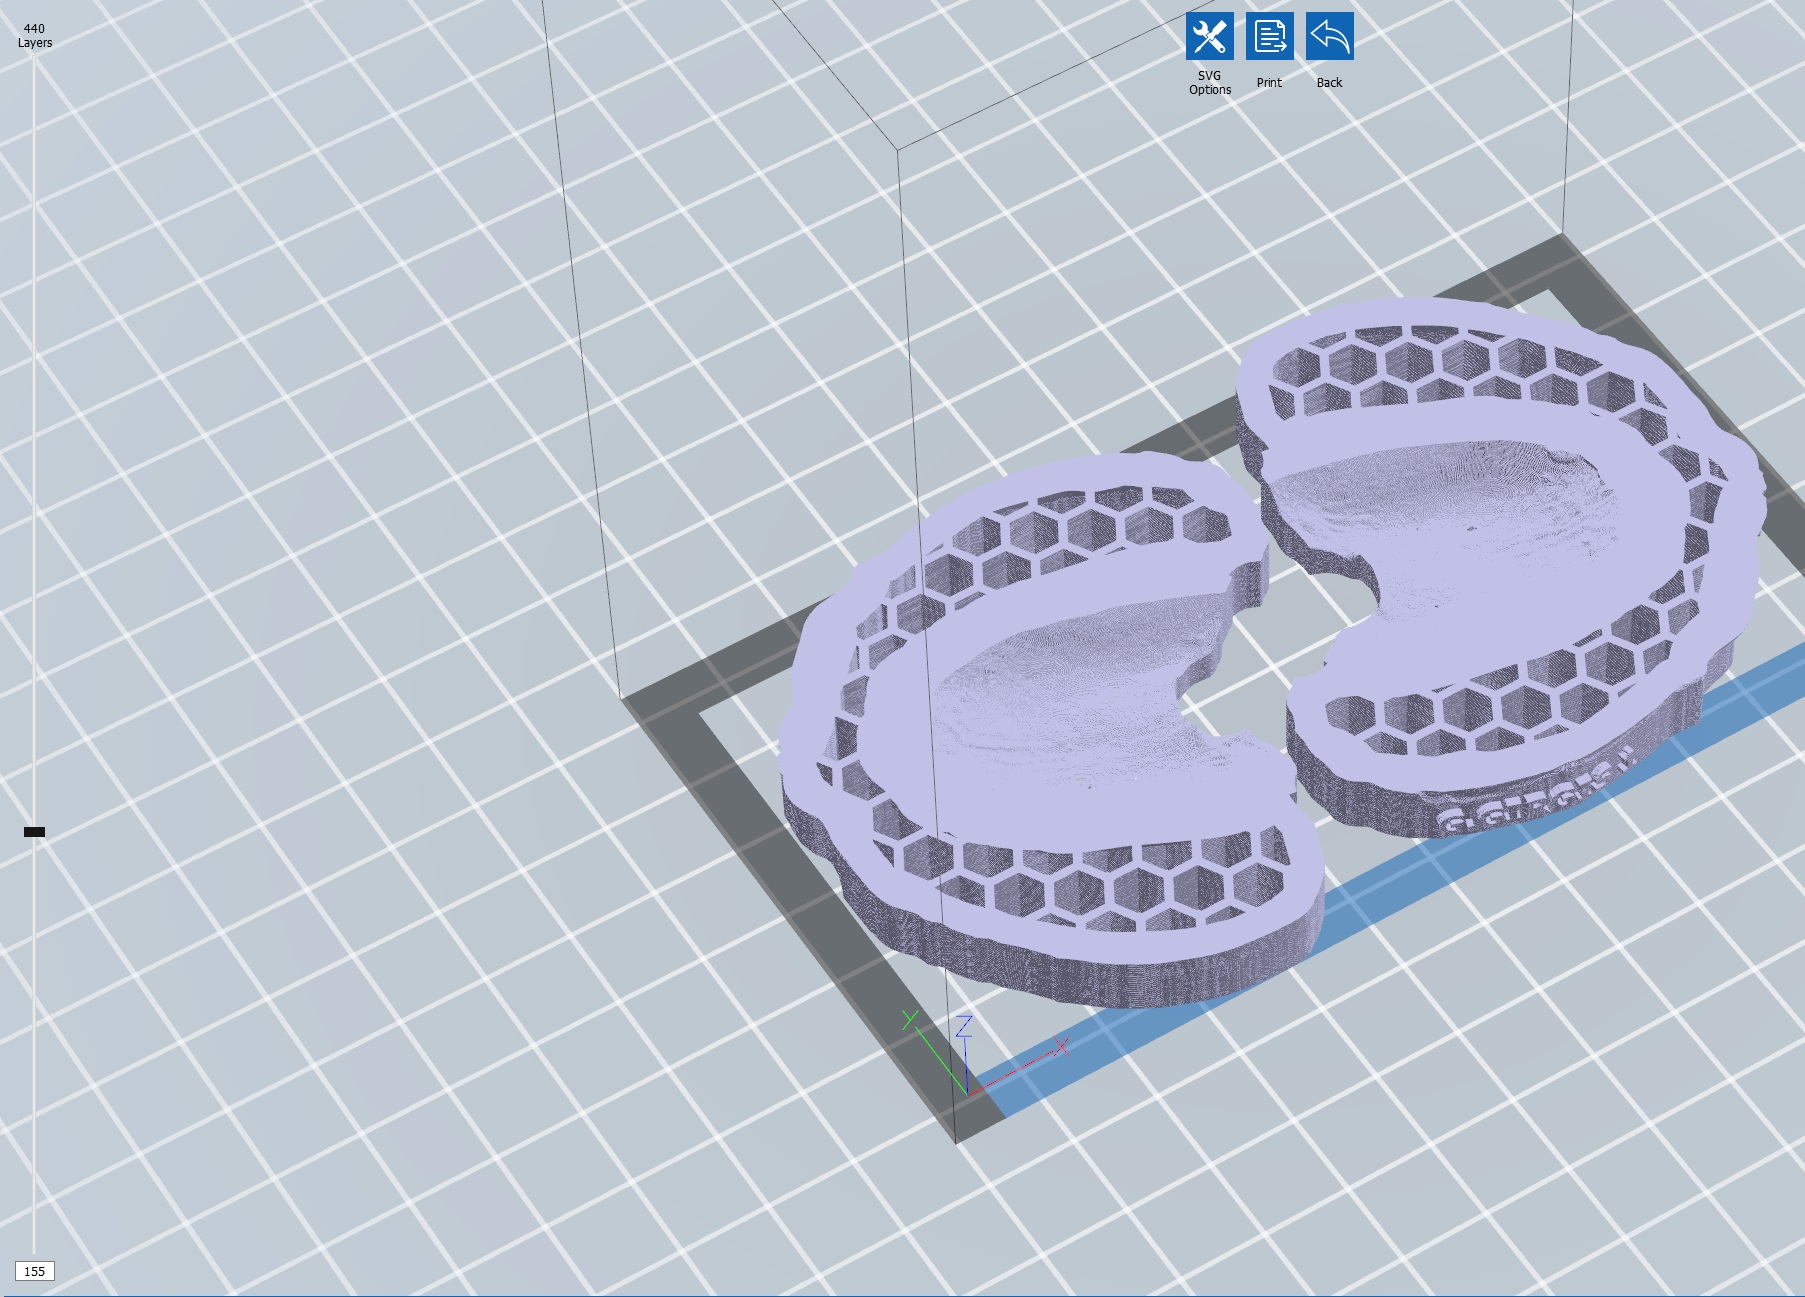
From there you can use the infill function to either hollow out the model or have a honeycomb infill.

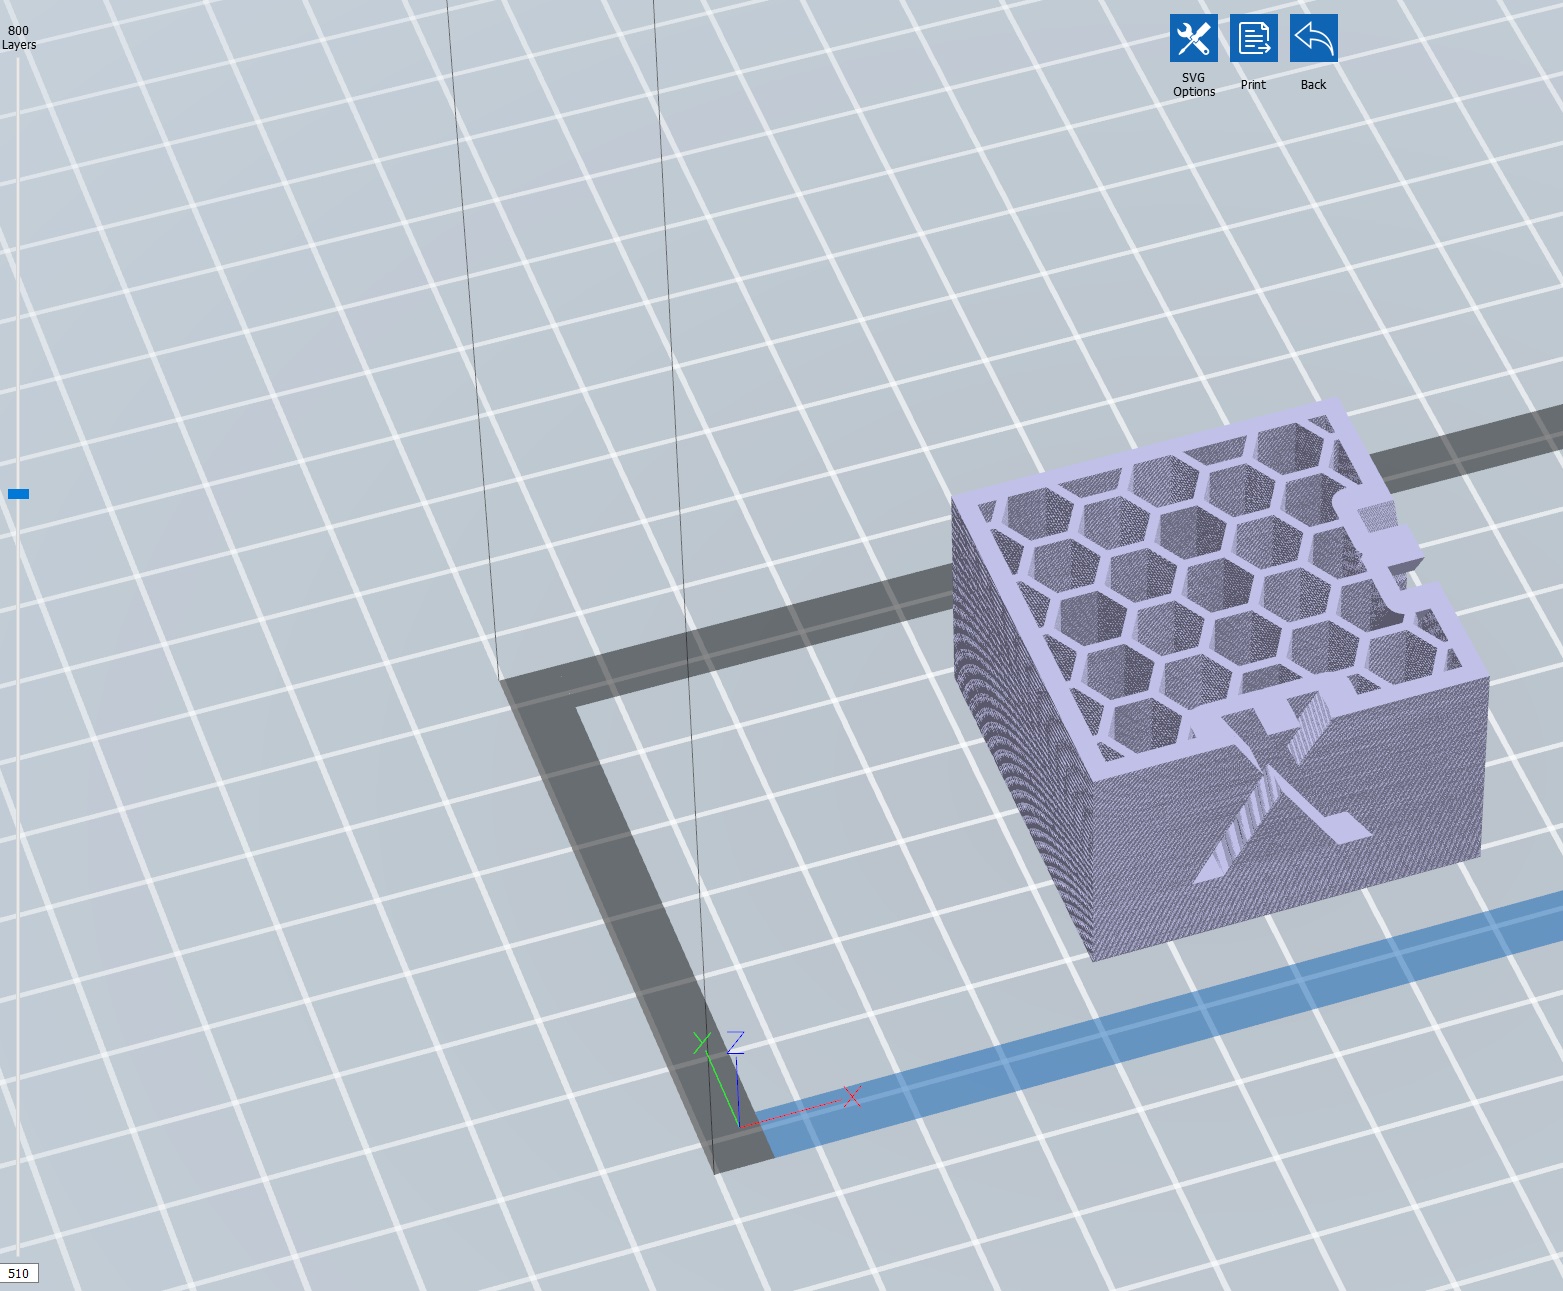
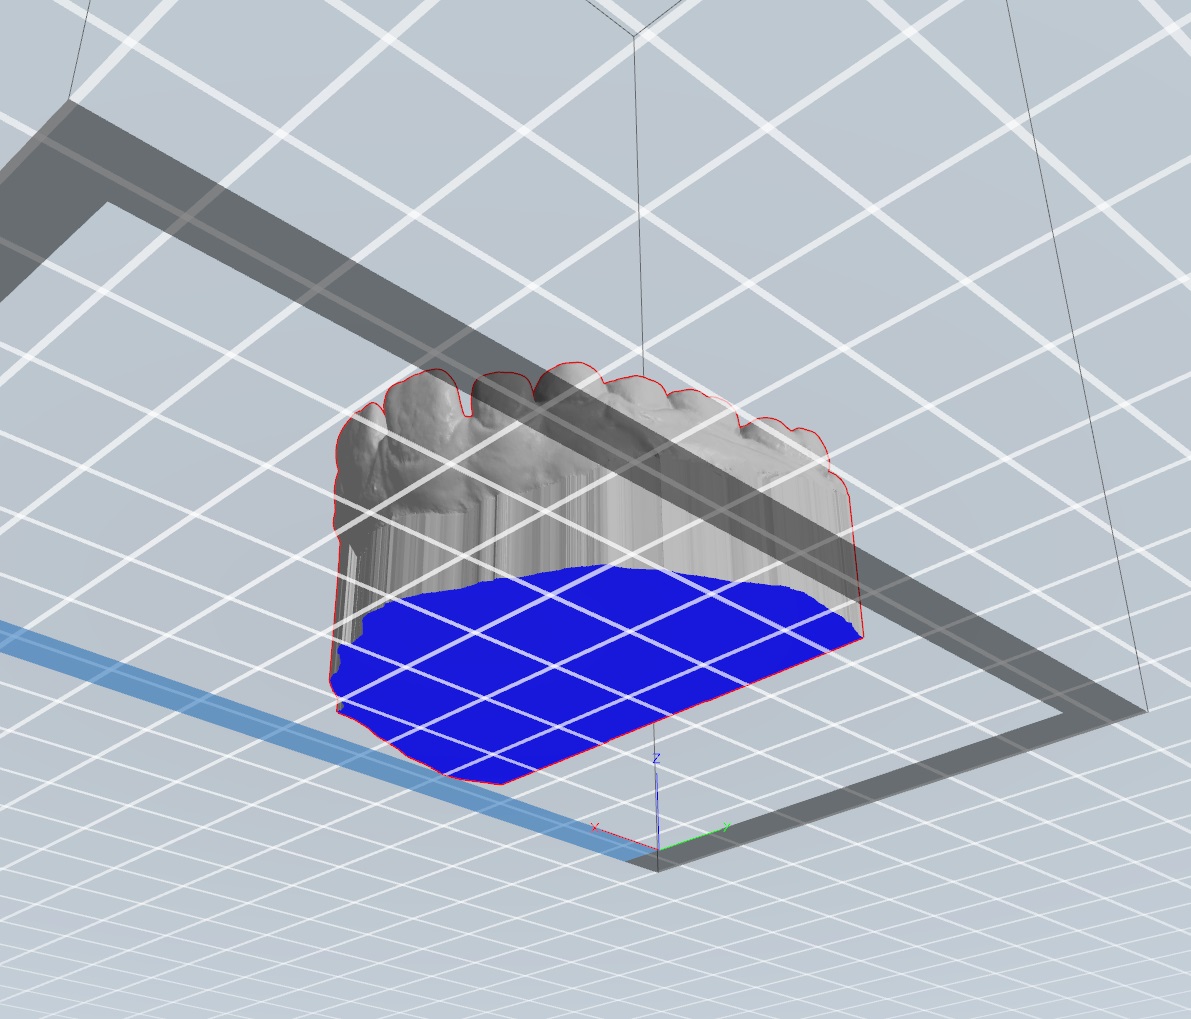
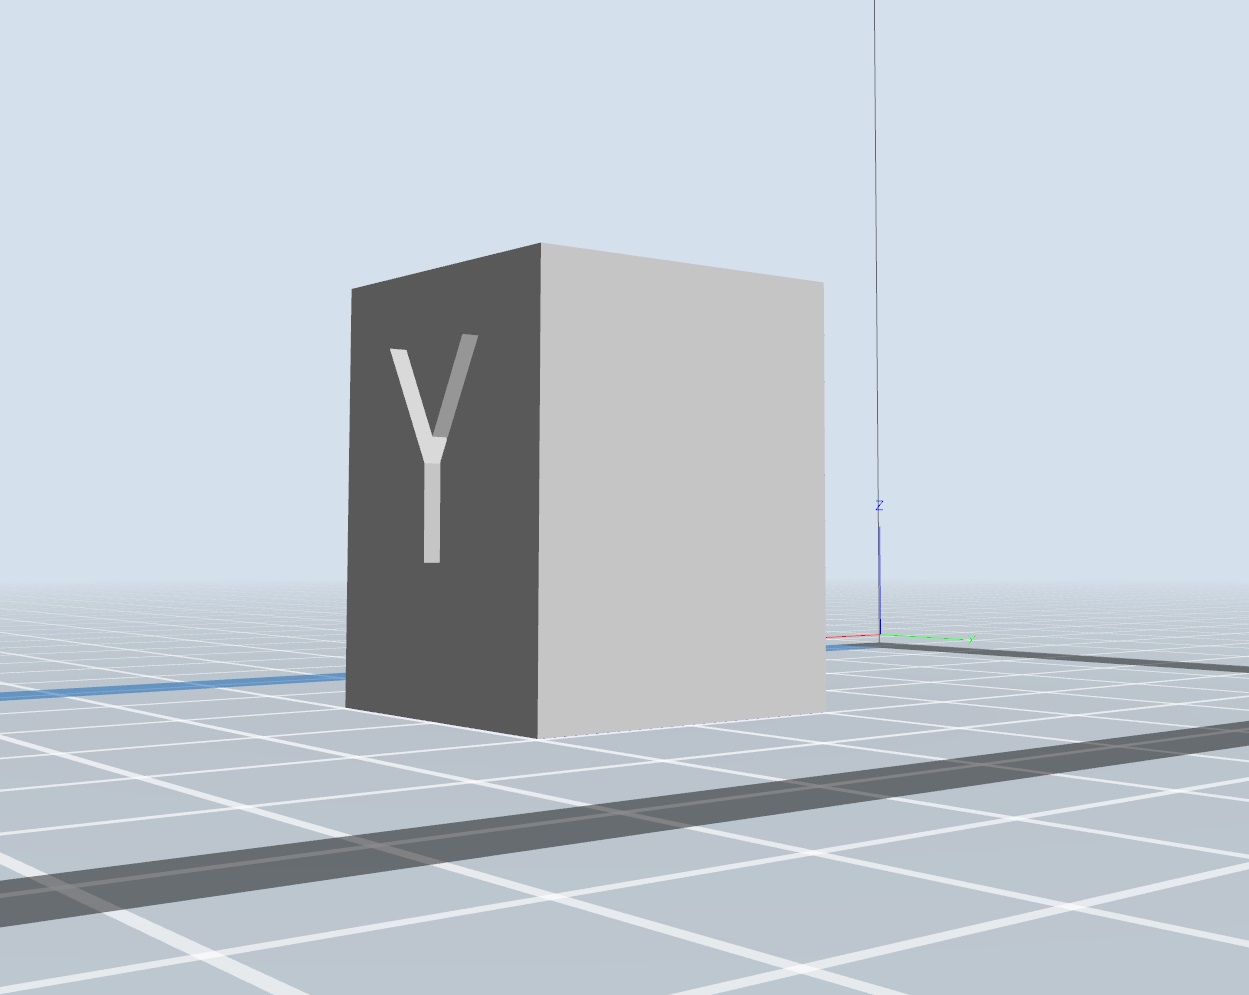
You can do this with any open mesh. Below, I took the cube, cut out the bottom to make it open and used the generate base function to have a 6mm base added:

In dentistry, the honeycomb infill is handy to have when you need to mount the models on an articulator. The disadvantage in the way this software generates the hollowing out or honeycomb infill is that it is done at the slicing stage, so you cannot save the altered model as an stl like you can in Formware.


#11

Hi,

Thanks for the extra information.
I’ve also tried the FlashDental software now.

The extrude to base (for a part with naked edges, open) is not to complicated. I will do my best to put it in the next release.

The honeycomb infill is clear as well. However the software is not generating a mesh; instead after slicing it’s showing the 2d slices meshed. Making the experience very slow. (at least on my PC). So this can’t be implemented in this way. I think of a way to do this more efficiently.
It can either be some kind of algoritm that generates the exact mesh as a honeycomb exactly.
Or it generates the slice curves in 2d. (not making it a mesh again)
Best would be the first; but need to think about how to mesh that.

Elco


#12

Hi Elco,

Yes, the way the honeycomb infill in FlashDental/FlashDLPrint is implemented is not ideal as it does not generate an actual stl. If it was at all possible to do it so that the honeycomb infill becomes part of the stl that would be ideal. That way you can export it as is if need be or add vent channels.

By the way, I don’t mean to be starting a new thread just for this, but since you played around with FlashDental/FlashDLPrint, I thought I’d mention that it has another very handy function: In the plane cutting tool you have the option (a checkbox) to keep the parts in place. So instead of being nudged after cutting, they stay right where they are. Very useful.

Thanks, much appreciated.


#13

Interesting, why is that usefull? Small thing to add.

My business partner just opted an idea to make the honeycomb as a seperate support shell just like we do with the supports. That would prevent a very nasty boolean operation. I think this is a more feasible operation as well to perform. You could then export the entire things as 1 STL as well.

The flow would then be

  • close part with extrusion to base. We will also need to incoporate the ‘hollow’ operation here. So you will give the single shell a thickness towards the inside
  • add hexagonal shell support.

1 question we still had; don’t you get a huge amount of suction cups printing like this?
The material can’t go anywhere…


#14

In dentistry you most often work with an upper an a lower model that have a specific alignment to one another (the occlusion). When I prep models in the slicer I often import both models in their original position and add the articulator adapters to the models then. It’s a really good way to position them perfectly. Sometimes you need to trim something out but you don’t want to lose that position. That’s one use for it.

About the suction with the infill. Yes one would think that this would happen, but so far, I have not had a failure due to suction. But that would be the benefit of adding it to the stl. It would then allow to place horizontal vent channels across the base. Or better yet, if it is possible to do, add the vent at the base of the cells in the design.


#15

Yes i guess it’s better to add the vents in the hexagon in some way. Makes more sense to me.

Thanks for all your input!

Gonna do our best to incorporate it in next release.