Wanted: Elephants correction wizard


#1

Can Formware do elephants correction??
Is there a wizard that helps user tune it?

This is a game changer for resin printing. Functional prints can be printed directly on build plate with much better accuracy. Resin printers can do print in place fdm prints now. Bonus points if you allow users to correct other layer besides bottom layers with different amounts of correction.

uvtools is free and open source:
h ttps://www.facebook.com/groups/uvtools
h ttps://github.com/sn4k3/UVtools

bulge buster is free:
h ttps://youtu.be/piz9VY-1Cfk
nerdtronic3d. com


#2

Hi,

What exactly do you mean by the term ‘elephant’ correction?

Elco


#3

Hi Elco,
Apparently some printers suffer a spread on the base layers if the model is resting on the build plate. Maybe that is because of the longer exposure times for burn in layers. I don’t see it on my printers but it is mentioned a lot on some printer manufacturing groups on FB, e.g. are a member of Phrozen FB groups?

Cheers,

Gary


#4

Hi Gary,

Yes for sure that’s burn in effect; to much heat/reaction.

You can use the XY correction for the bottom layers to create an absolute inward offset…
I think this should solve that?

Elco


#5

XY correction is the basic minimum parameter, if you stop there users cant do more.

Is there a wizard that increments the correction on same build plate so user can pick the best result?

Is it easy for user to calibrate it?
without doing multiple prints over multiple sessions?

Can a user create a range of layers XY correction will be applied too?
Can user specify different amounts of correction to different layer ranges.

Why would you want to do such a thing??
To do “print in place” fdm models on a resin printer.
To make functional models with moving parts.
I made a working resin bearing.


#6

Print in place bearing.

Needed to cancel the bottom layer expansion. (1 range)
Needed to slightly increase distances between internal surfaces on the upper parts of bearing at a different correction amount. Bearing will be sloppy/to loose if the same correction range is used for whole bearing. (a different range of correction)

https://youtu.be/MEAbnNTya9E


#7

I find that the spread at the base of parts is nonlinear, resin-specific and heat-sensitive. It’s a complex process, not entirely dictated by overexposure of the base layers. Off-time between layers matters and since that delays the entire print I can choose between “excruciatingly slow” and “slight distortion of bottom layers.”

There are a lot of utilities and workflows out there that reflect the impatience of their creators far more than their utility. I’ve just got a goofy little Anycubic Photon and am just using goofy Anycubic resin and other than seepage cures I’ve just about got it dialed.

Does raise a question, though, Elco - you’ve got this lovely parametric process to develop print settings based on a whole bunch of values that I"m having a hard time finding. Have you had luck reaching out to manufacturers to get those values?


#8

But ‘elephants foot’ is only an issue if the object is placed directly on the print plate, right?
FormWare defaults to lifting the object off the surface if you add any supports.


#9

This would be an option. Your choice to use it or not.
Yes the default behavior of many slicers is to raise model for supports. That solves the distortion printing flat would bring. If your model doesn’t require supports, it would print straight away no bottom layer distortion if formware implements. But why stop at bottom layers.

Now with this method things printed flat have less or no over exposure of bottom layers.
Bearings are flashly, a way for people to visualize the possibilities. But other benefits are time and less warping. Models printed flat print faster. You start printing model right away, not supports. Ever have a print with a large flat section warp? Print it flat on build plate, it won’t warp.

Really just arguing for another weapon in the tool kit. Sometimes it would help. This isn’t in any major slicer yet. If implemented in an advanced way, you can do more then just xy correction.


#10

Hi,

Thanks for all the input. I’ll share our thoughts to it and what we’re working on;

In general the exposure, XY offset, ZBleed, shrinkage/expansion are different per resin and per machine.
Shrinkage/expansion depends heavily well on the heat being generated.

Another factor is the penetration depth per resin. It should be pigmented for a certain depth. And you project just enough light of say this depth plus a little.

Another factor to take into account is the UV homogenity. We’ve tested 5 printers now (different low end brands) and all of them are different. Even with LEDS in an array there are clear borders with higher intensity of UV light.
The worst machine showed a 4x difference in UV intensity… in general the ones with a LED matrix are better but they show borders…

We are working on 4 things at the moment to be expected within some days/weeks

  1. Over the last weeks we’ve developed a print-test to easily detect UV homogenity and confirm exposure times for a certain resin.
    It will work as -> you print some test blocks, take a picture, the software analyses the result and sets a grayscale mask. It will as well tell you if your exposure is roughly correct.

  2. Furthermore we’re working on a good testpiece to determine the XY correction and ZBleed. However it’s tricky as we’ve not fully mapped the relationships yet. Article to come.

  3. In parallel we’ve developed a proper UV sensor. This will hopefully be finished in some weeks, we’re testing it now and finishing the little interface. It measures the absolute intensity of the printer and will give you a super accurate idea of what the UV intensity is. In case you dont want more accuracy as (1.)

  4. We have another idea of some sort of thin raster to insert on the buildtable when printing flat on the table. Something that should be easy to sand off later. No tests done yet.

Elco


#11

Well I’m hopeful. I thought from the responses I was unable to show the value of this feature.

Can I ask did it help to already have examples working and printed ?

Yes this would be resin and printer dependent.
Which is why a wizard is essential to making it easy for user to get correct value in 1st print. What ever method used to achieve that goal - If it’s printing a range of values the user prints on one 1 plate or a light meter, or pictures. (Different sized lcd displays)

I’m available to help as beta tester, lots of resin experience. Prusa sl1, sonic mini, elegoo saturn.
I once used the formware trial in combination with chitubox for this print. It showed a feature formware had other slicers don’t have. Made a facebook post about it.


#12

Nice print! Off topic, but honestly what impresses me most is that you have so few supports under the base of those figures, but they appear to print fine. The platform thing is awesome too of course!

Back on topic, I’d definitely use some of these features, which of course would require lots of dialing in. I find myself dialing in nearly every new bottle of resin, so simplified testing measures would be great.


#13

@nuroo that’s a great looking print! Indeed very little support.

We are working on the UV mask integration now in the software.

The problem with basically each lower end machine is that the UV distribution is unequal. So whatever you optimize in ZBleed, XY correction it will all be inaccurate if you don’t have a good UV distribution.
So doing it all in 1 print -> I doubt it.

The other thing we found so far is that not all hardware (especially the lower end chinese PCB’s) like a slice image with many different shades of gray. So we have to implement some kind of trick for this to minimize.

so far for the update.
Hope to have it finished end of week, beginning next week.

Elco


#14

Please watch this video:

His implementation gets the calibrations done in one take, no other hardware needed besides printer. It only does bottom over exposure correction however. Im in contact with developer…if want I can invite him to the discussion.


#15

UVtools is much more comprehensive, able to do much much more. This app is what I used before bulge buster to print working resin bearings.
The developer of UVtools actually assisted bulge buster’s developer in creating his app. Either way those guys teach me things, let me know I’ll link them this discussion.


#16

Hi Nuroo,

Thanks for the movie. Interesting to see his print results.
You can do pixeldimming and XY offsetting (for bottom layers seperatly).

I think it’s still missing part of UV intensity. When you expect a result accurate on 1 pixel (say 50micron) you need to know exactly what your UV intensity is. That is in my opinion the first thing you need to establish. Otherwise you are just going in loops trying to optimize something getting different results on different locations.

So that’s what we’re working on with a new test similar to what he shows half way the video.

Elco


#17

Practical use… Upgrade MK3S+ parts printed directly on build plate - no bottom layer distortion.


#18

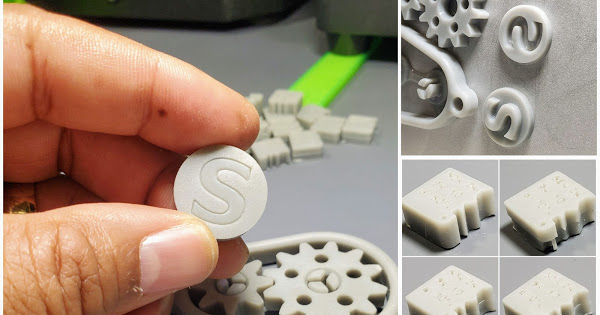
Try this. Make a simple part - I like the 30mm calibration cube on Thingiverse. Print, oh, ten of them - I print them half-size because a 30mm cube printed flat on the bed requires channel locks to break free (and uses way too much resin). clean them, cure them, whip out your calipers and a spreadsheet and measure them X-Y-Z.

Dollars to donuts your variation is going to be 0.20mm or worse.

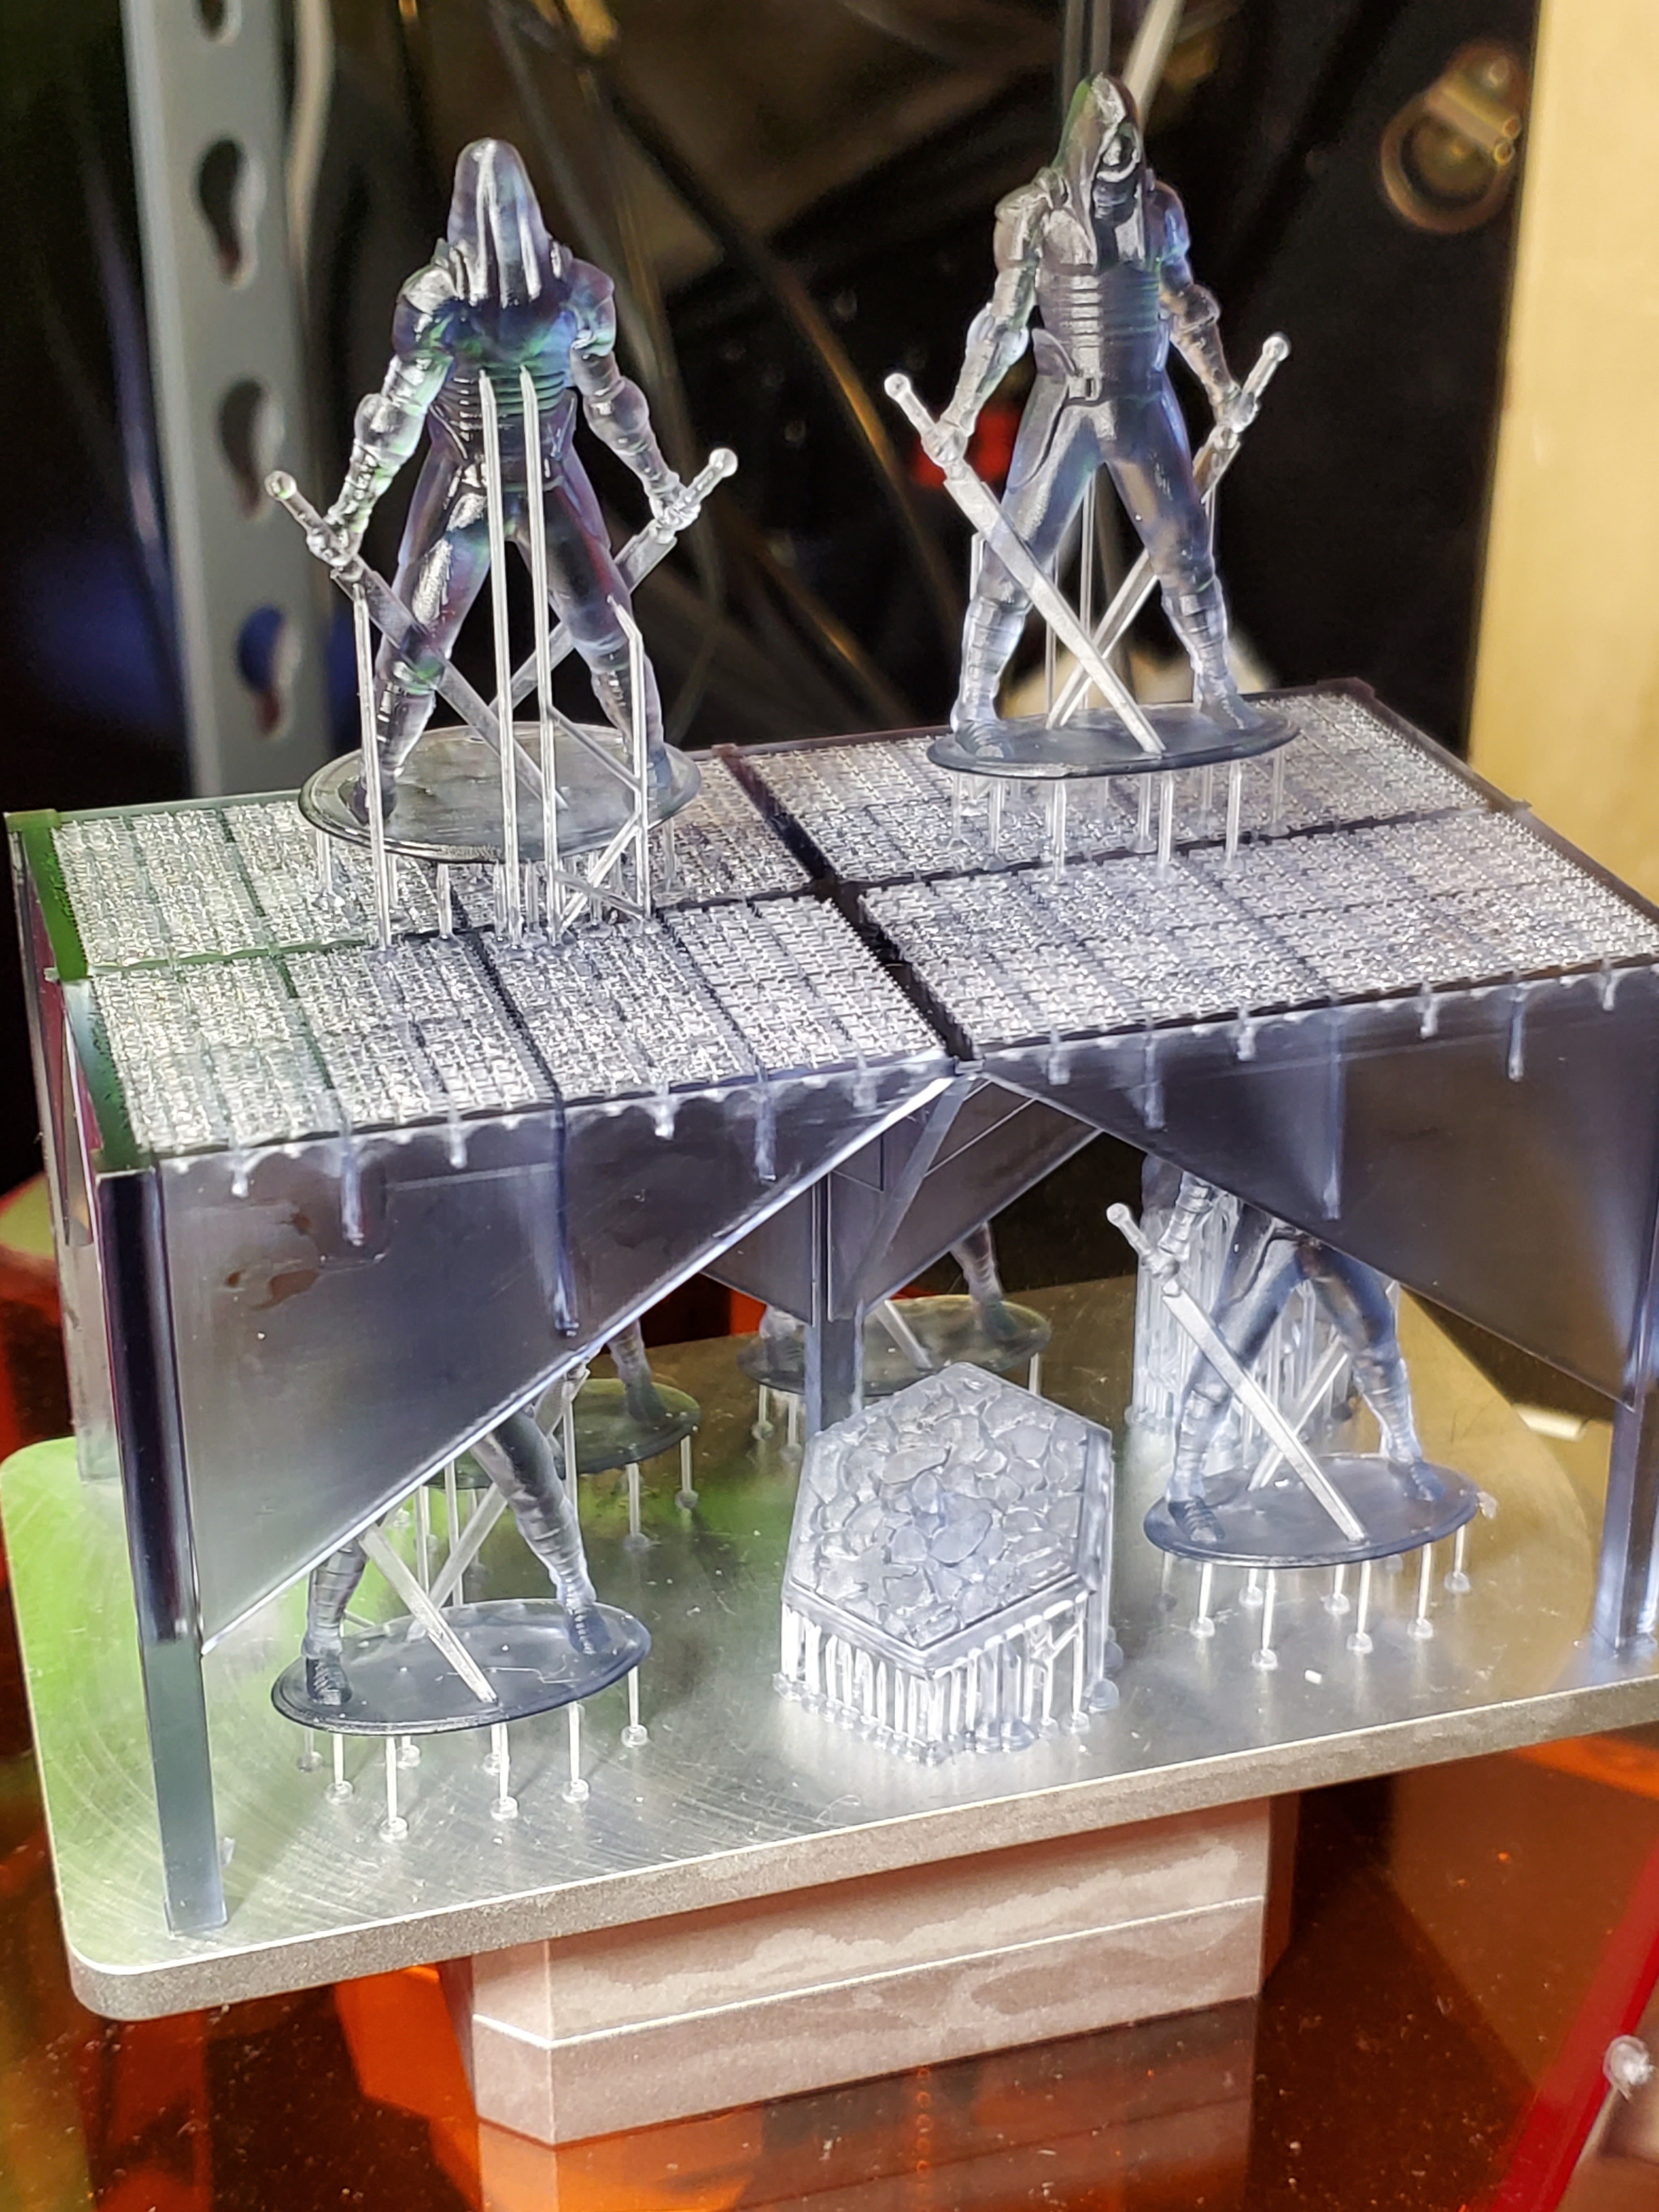
Resin printing is taffy puller engineering. You’re dealing with a material that best resembles a wet Jolly Rancher while you’re printing it (the castable wax resin is closer to “stale gummi bear”). You can work with the limitations of the process, but that starts with understanding the limitations of the process.

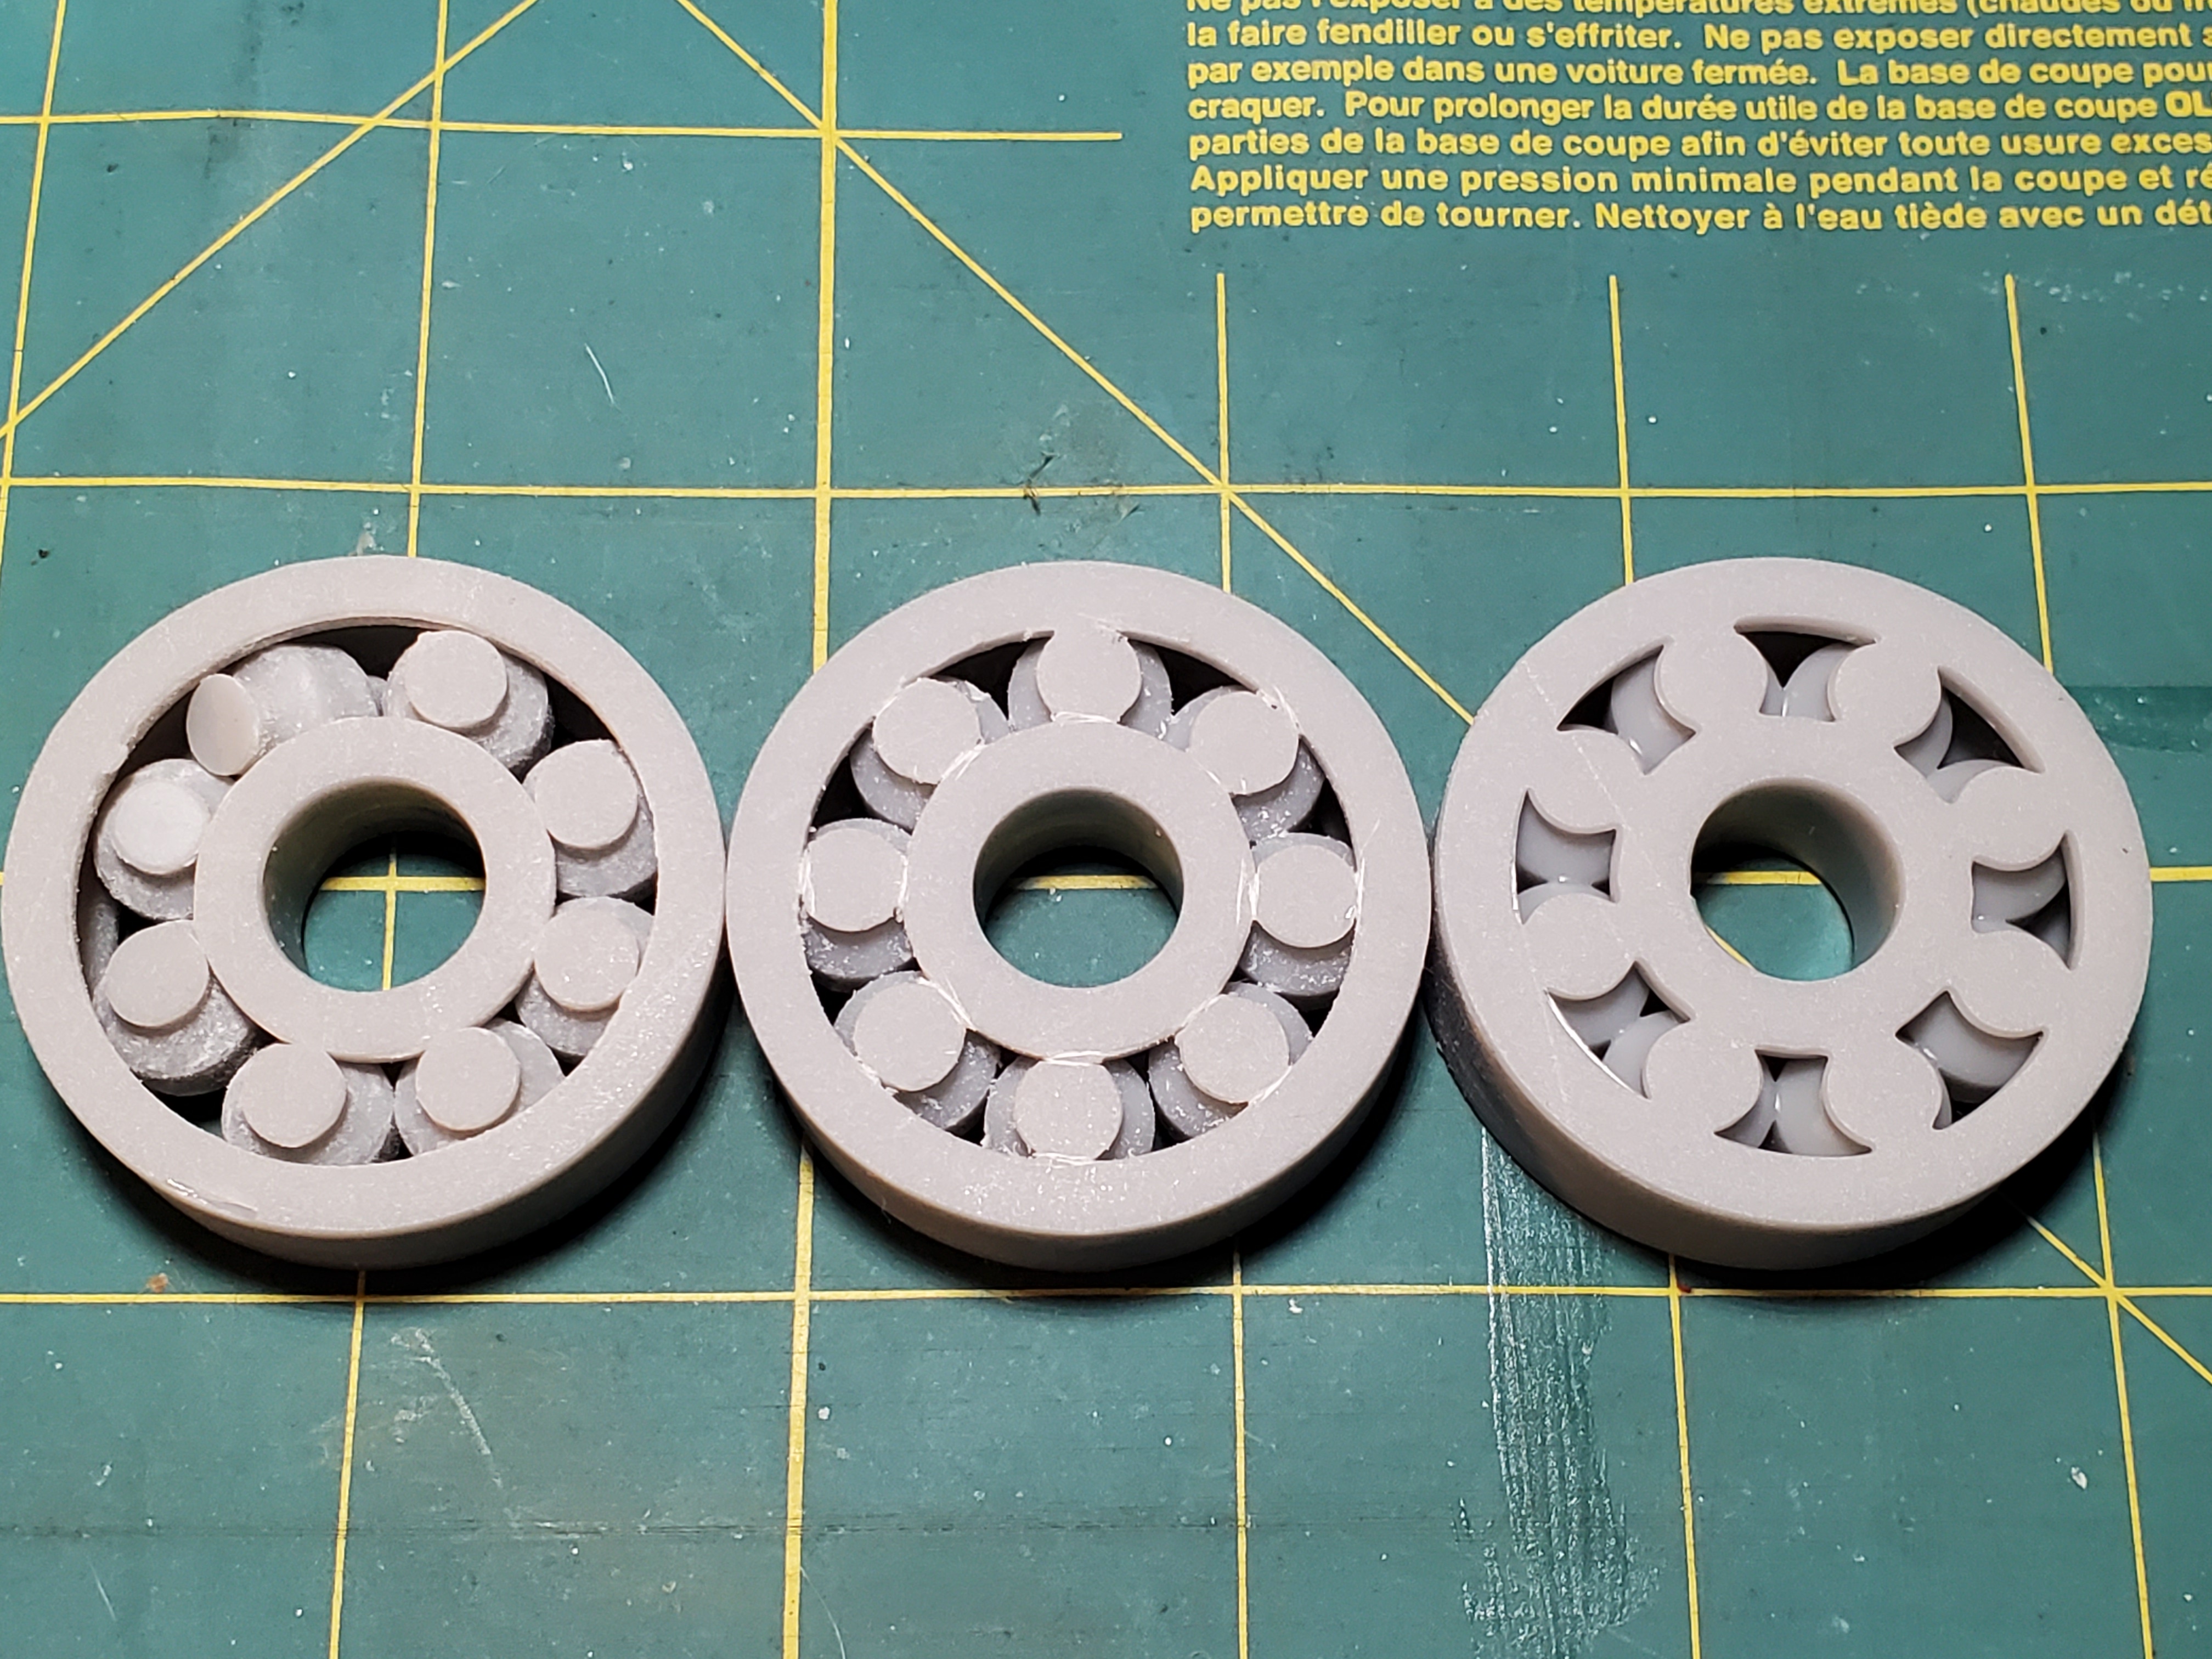
Youtube is full of 3d-printed “clocks” that will “run” for approximately eight ticks. That’s all they’re good for. It’s much easier to make something that looks like a machine than it is to make a machine, and if your sole purpose is to put videos on Youtube to make yourself look like a badass then yeah, you might as well print Babbage’s Analytical Engine on your Elegoo Mars 'cuz the only people who can call you on it are too busy trying to figure out why they can’t get anything to adhere to the base plate.